1/5단계
키보드 후면의 배터리 홀더 스티커가 제거되어 있는지 확인합니다. 키보드를 ON으로 켜려면 일반적으로 키보드 가장자리에 있는 전원 스위치를 이용합니다. 전원이 켜지면 전원 LED 표시등이 초록색이 됩니다.
2/5단계
그렇지 않은 경우, Easy-Switch 키 중 하나를 3초 동안 길게 누릅니다. 표시등이 깜빡이기 시작하면, 키보드가 컴퓨터에 페어링할 준비가 되었다는 뜻입니다.
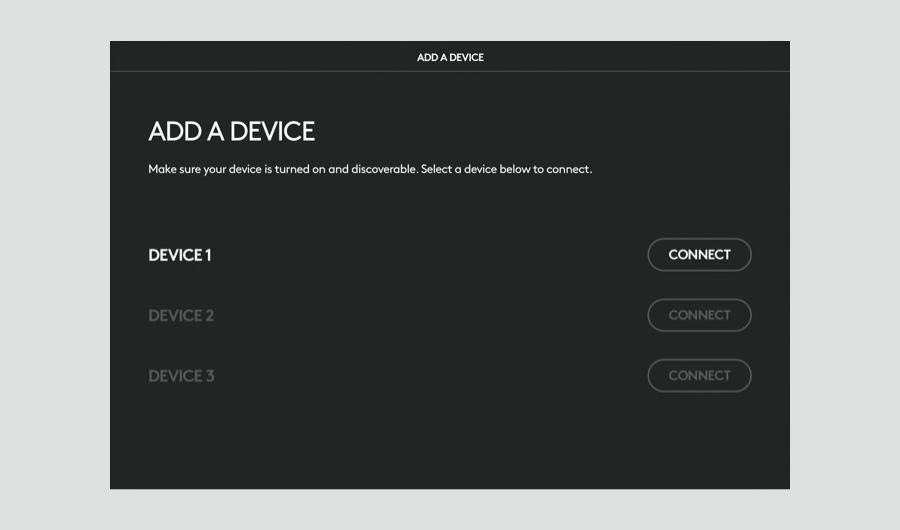
3/5단계
컴퓨터에서 Bluetooth® 설정 메뉴를 찾아 이용 가능한 제품 목록에서 키보드를 선택합니다.
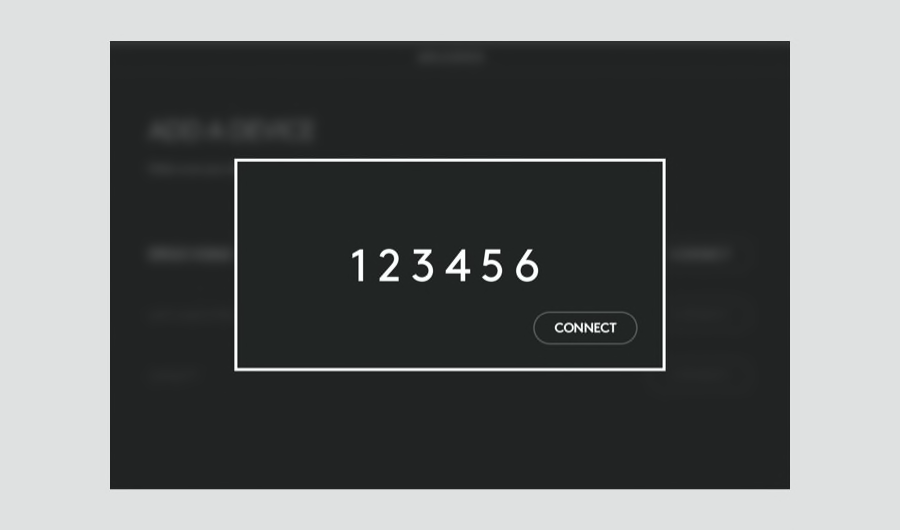
4/5단계
화면에 표시된 코드를 입력한 후, 키보드에서 Enter 키를 누르고 연결을 클릭합니다.
5/5단계
Logitech Options+는 로지텍 마우스, 키보드 및 터치패드를 보다 풍부하게 사용할 수 있게 해줍니다. Options+로 로지텍 기기를 원하는 대로 커스터마이징하여 편리하게 사용하세요. Options+ 둘러보기
지금부터 로지텍 뉴스레터를 받아보실 수 있습니다.